
Not all painter’s tapes are created equal. Whether you’re painting walls, protecting cabinets, refreshing baseboards, or working on exterior brick and stucco, the right painter’s tape can make a big difference in the final result.

Using the wrong tape can lead to paint bleeding, uneven edges, adhesive residue, or even peeling paint. The right tape, combined with proper preparation and removal techniques, helps produce cleaner, sharper paint lines.
At SiaZ LLC, we know that a quality paint finish starts with careful surface preparation and the right materials.
In this guide, we’ll compare four popular types of painter’s tape, explain where each performs best, and show you how to use painter’s tape correctly.
Quick Answer: What Type of Painter’s Tape Should You Use?
The best painter’s tape depends on the surface you’re protecting and how much adhesive strength you need.
- Blue painter’s tape: A versatile choice for walls, baseboards, trim, glass, and tile.
- Purple delicate-surface tape: Ideal for sensitive surfaces such as cabinets, finished floors, wallpaper, and certain recently painted walls.
- Green rough-surface tape: Designed with stronger adhesive for brick, concrete, stucco, and rough wood.
- Green FrogTape Multi-Surface: Uses paint-blocking technology to help create sharp, clean lines and reduce paint bleeding.
The key is to match the tape’s adhesive strength and surface compatibility to your painting project.
1. Blue Painter’s Tape: The Best All-Purpose Choice
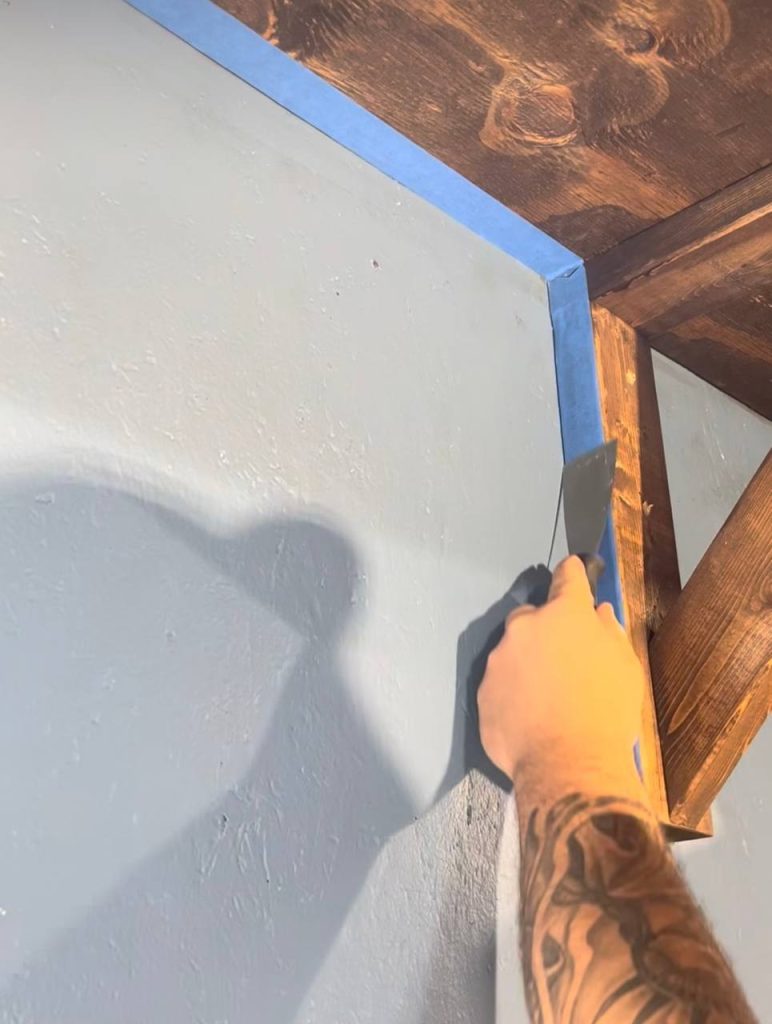
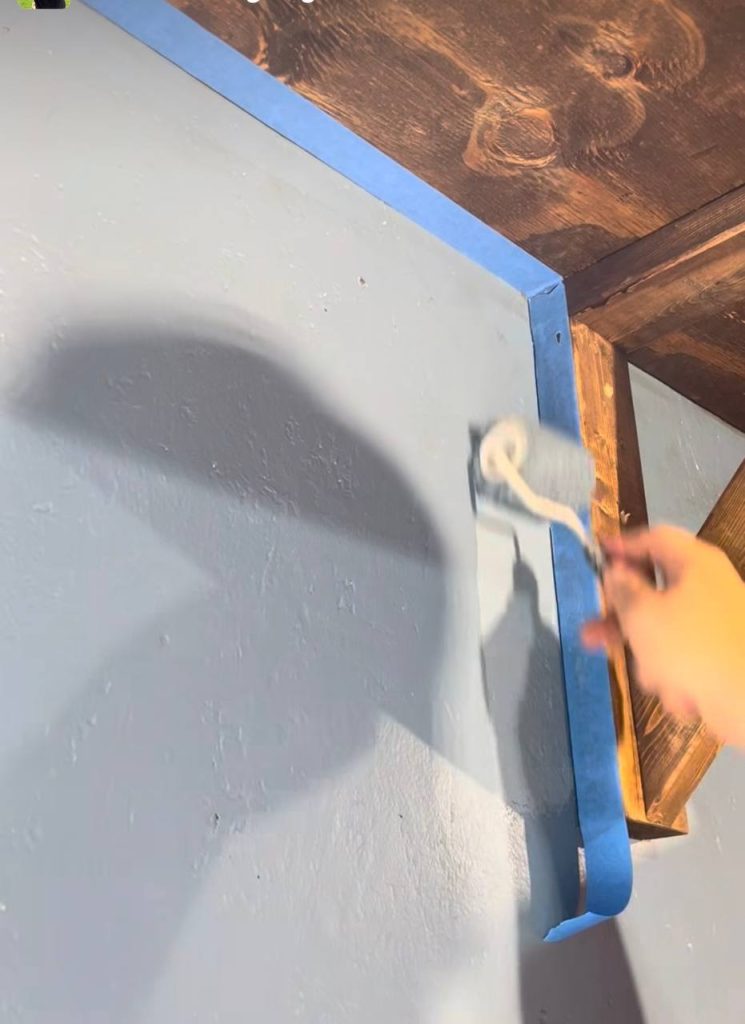
Blue painter’s tape is one of the most recognizable painting supplies and a dependable option for many interior painting projects.
A popular example is ScotchBlue Original Multi-Surface Painter’s Tape (2090).
Where to use blue painter’s tape
Blue painter’s tape works well on appropriately prepared surfaces, including:
- Interior painted walls
- Baseboards and trim
- Door and window frames
- Glass and mirrors
- Tile and other compatible smooth surfaces
- Lightly textured walls
Adhesive strength and removal time
ScotchBlue Original Multi-Surface Painter’s Tape (2090) features medium-strength adhesive and is designed to remove cleanly within 14 days under the manufacturer’s recommended conditions.
This makes it a practical choice for painting projects that take several days to complete.
Why choose blue painter’s tape?
It provides a useful balance between adhesion and removability.
For standard wall painting, trim protection, and most routine home improvement projects, this is often a good starting point.
SiaZ Painting Tip: If you’re painting a living room or bedroom, apply blue painter’s tape along the baseboards and trim after cleaning the surfaces. Press the edges firmly before painting to help prevent paint from seeping underneath.
2. Purple Painter’s Tape: Best for Delicate Surfaces
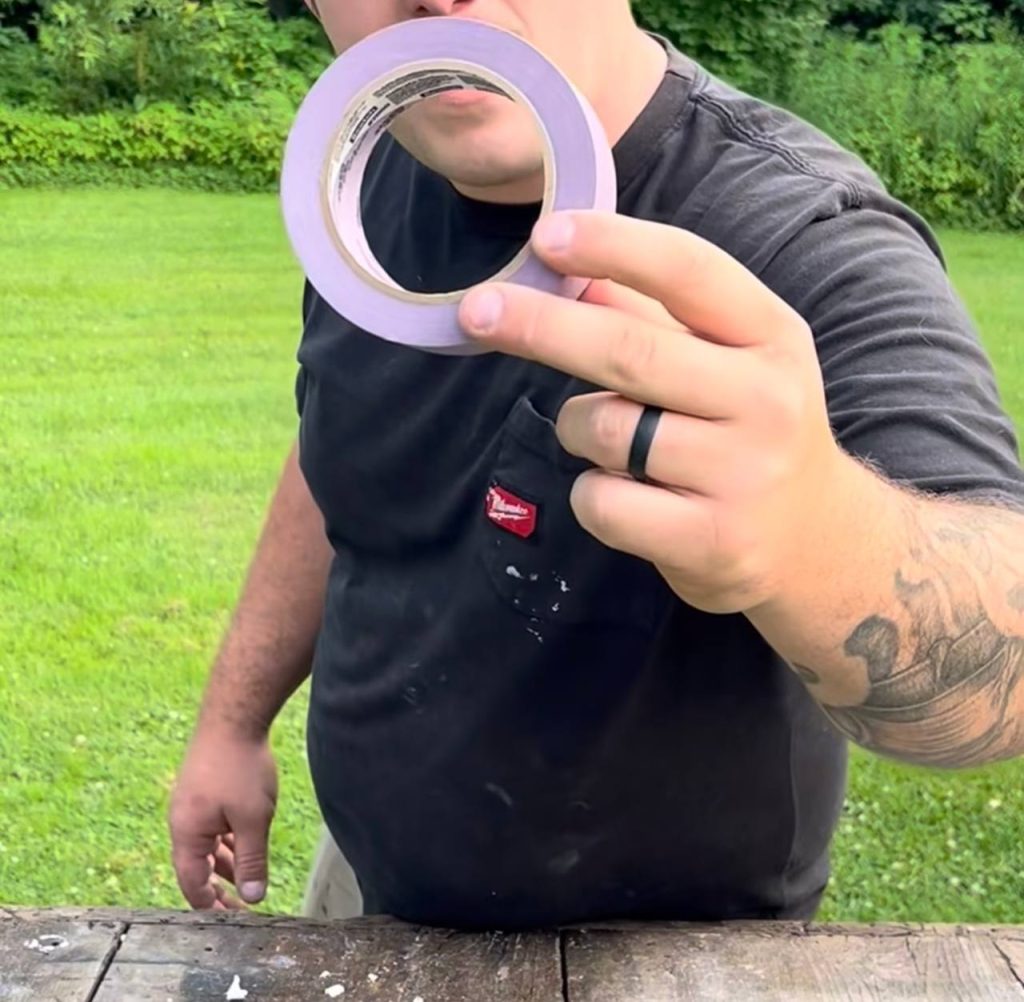
Some surfaces need more protection than others. Cabinets, finished wood, wallpaper, and recently painted surfaces are especially vulnerable to strong adhesives.
That’s where delicate-surface painter’s tape becomes useful.
One example is Scotch Delicate Surface Painter’s Tape (2080).
Best surfaces for purple painter’s tape
- Finished wood floors
- Kitchen cabinets
- Wallpaper and compatible wall coverings
- Painted drywall
- Recently painted walls, when sufficiently dry and approved for taping
- Decorative accent walls
Adhesive strength and removal time
Unlike standard blue tape, delicate-surface tape uses a gentler adhesive designed to reduce the risk of damaging sensitive finishes.
Scotch Delicate Surface Tape (2080) offers clean removal indoors for up to 60 days, according to the manufacturer’s specifications.
The manufacturer also permits application on certain freshly painted walls, provided they were painted at least 24 hours earlier. However, paint-curing requirements vary, so always check the paint and tape instructions first.
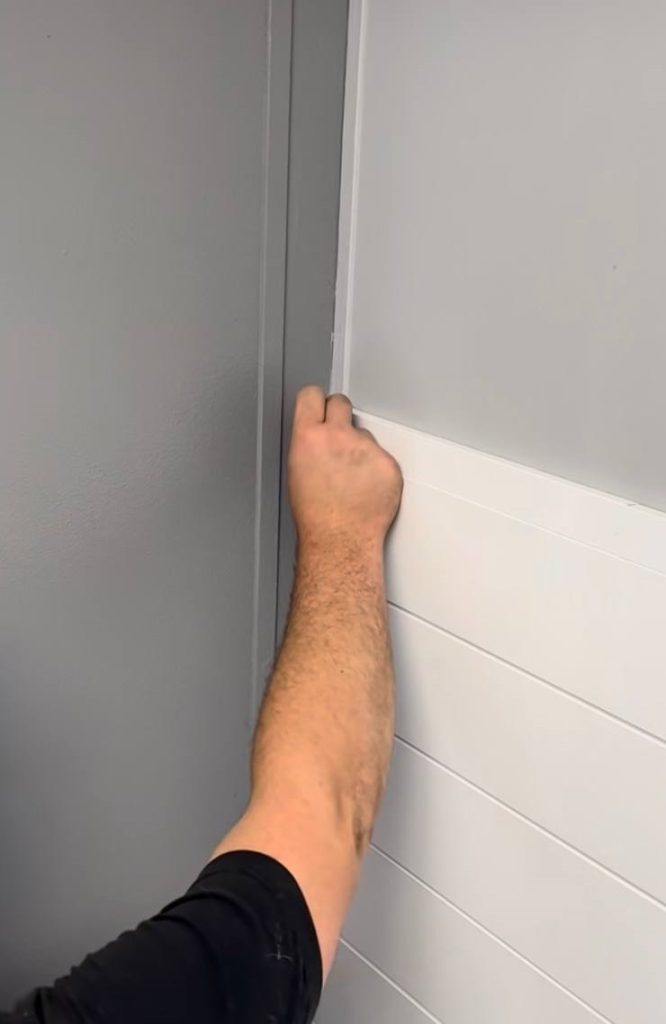
When should you use delicate-surface tape?
Imagine you’re repainting the walls around newly finished cabinets or installing decorative paint accents near an existing finish.
High-adhesion tape could damage the surface when you remove it.
A compatible delicate-surface tape is generally the better option.
SiaZ Painting Tip: Before masking expensive cabinetry, finished hardwood, or wallpaper, test the tape in an inconspicuous area. Even products marketed as delicate can cause damage on poorly bonded or inadequately cured coatings.
3. Green Rough-Surface Painter’s Tape: Best for Brick, Concrete, and Stucco
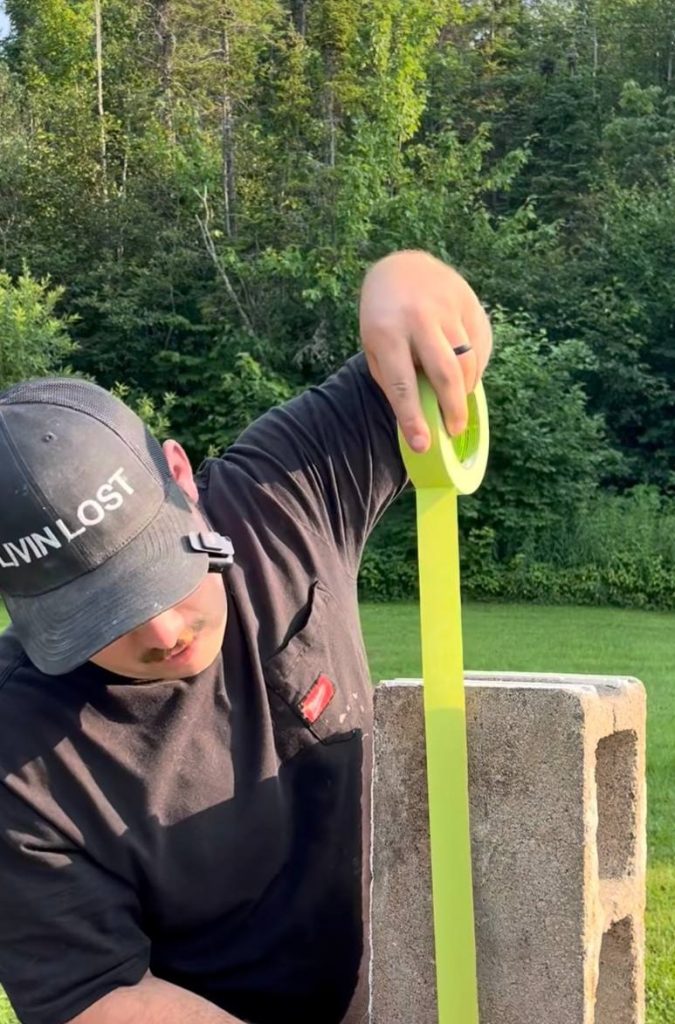

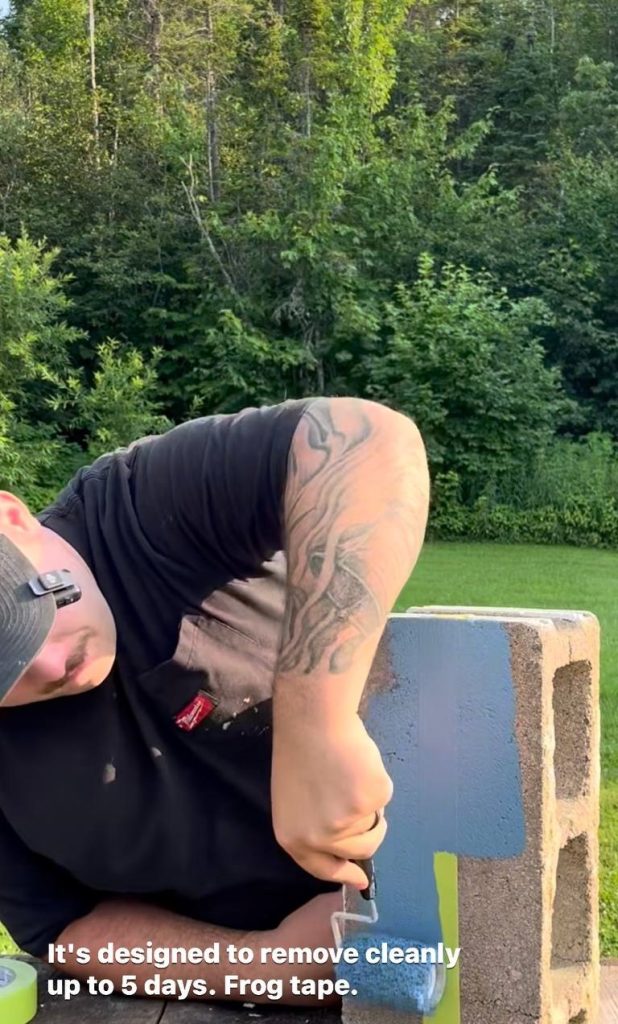
Standard painter’s tape may struggle to stick to porous, uneven, or textured materials.
Surfaces like brick and stucco have irregular profiles that make it hard for ordinary tape to form a secure bond.
Rough-surface painter’s tape is designed to solve this problem.
One example is Scotch Rough Surface Painter’s Tape (2060).
Best uses for rough-surface painter’s tape
- Brick walls
- Concrete and cement surfaces
- Stucco
- Rough wood
- Concrete blocks
- Other compatible rough, durable surfaces
Adhesive strength and removal time
Rough-surface painter’s tape generally uses a stronger adhesive than standard wall tape.
Scotch Rough Surface Painter’s Tape (2060) is designed for clean removal within 5 days indoors or 3 days outdoors, according to U.S. product guidance.
Because of its aggressive adhesive, don’t casually substitute it for delicate-surface tape.
Why stronger adhesion matters
Textured surfaces can create tiny gaps beneath standard painter’s tape.
Rough-surface tape is designed to improve adhesion on these difficult materials, helping it stay in place during the painting process.
However, aggressive adhesive cannot compensate for loose masonry, heavy dust, or unstable coatings.
SiaZ Painting Tip: When working around brick or stucco, remove loose dust and particles before applying tape. Apply firm pressure and test the tape on the material before starting a large painting project.
4. FrogTape Multi-Surface: Best for Sharp Paint Lines
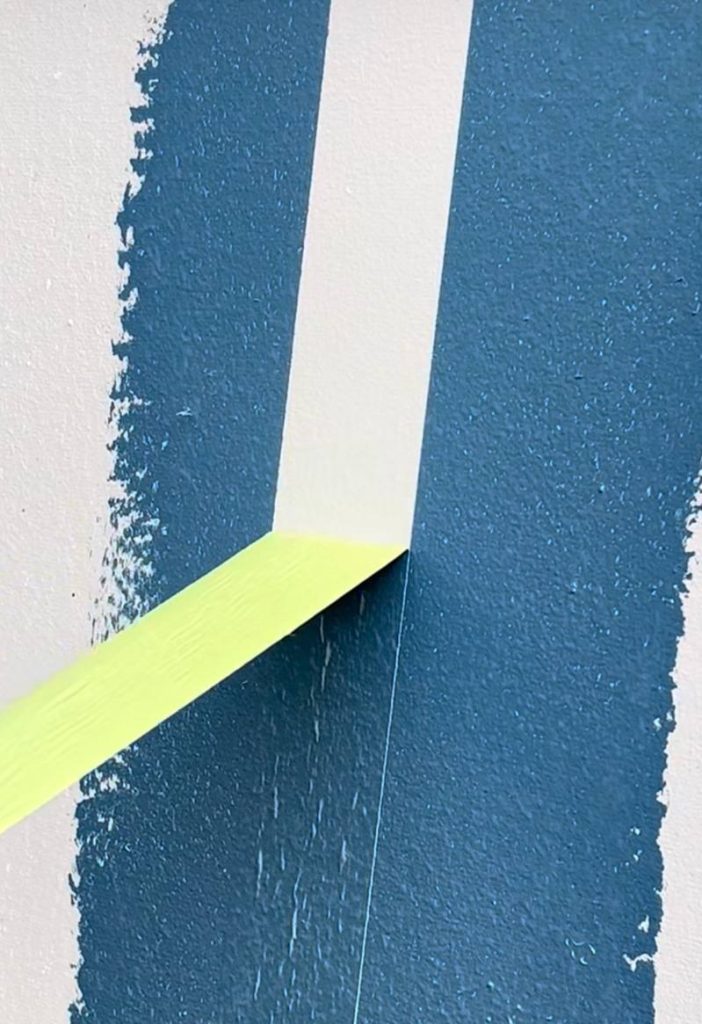
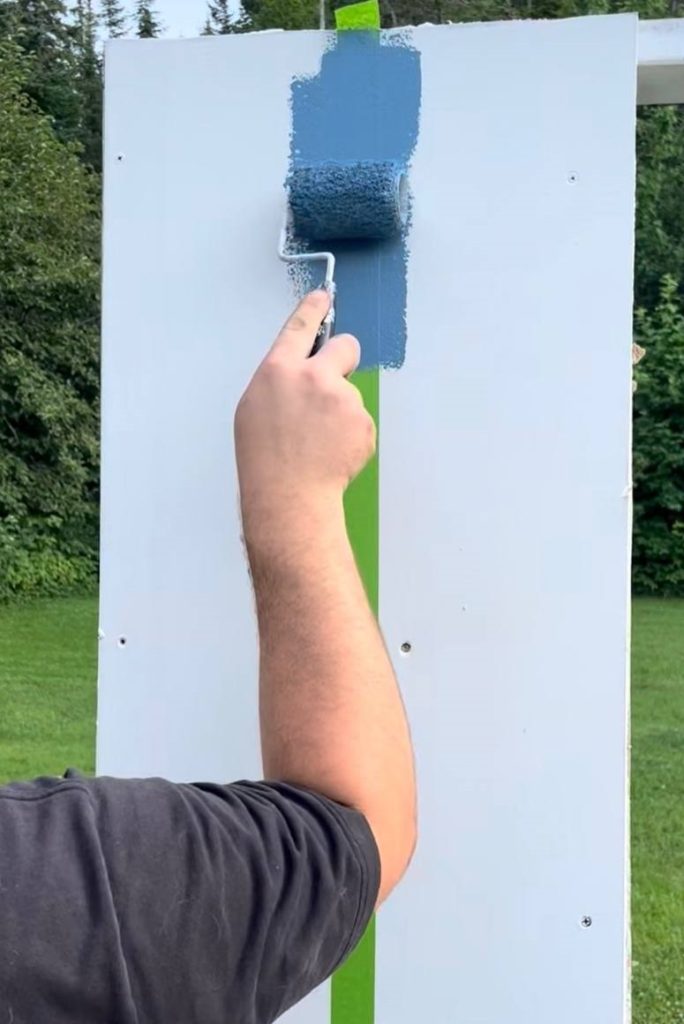

If you want sharp lines with minimal paint bleed, FrogTape Multi-Surface Painter’s Tape is another option worth considering.
FrogTape differs because of its patented PaintBlock Technology.
What is FrogTape PaintBlock Technology?
PaintBlock Technology uses a superabsorbent material in the tape’s edges that reacts with water in latex paint.
When water-based paint contacts the edge, the technology creates a barrier that helps prevent paint from bleeding underneath.
This is especially useful for:
- Accent walls
- Two-tone wall designs
- Decorative stripes and geometric patterns
- Trim painting
- Clean transitions between contrasting colors
FrogTape removal time
FrogTape Multi-Surface Painter’s Tape is designed for clean removal for up to:
- 21 days on recommended indoor or outdoor surfaces
- 7 days in direct outdoor sunlight
These time limits apply to this multi-surface product, not all FrogTape varieties.
How to activate FrogTape for cleaner lines
FrogTape’s PaintBlock Technology activates with water in latex paint.
For certain projects, lightly wipe along the tape edge with a clean, barely damp cloth to activate the barrier before applying paint.
Avoid soaking the tape or surrounding surface. Any additional damp-cloth technique should be appropriate for the particular surface and product instructions.
For many standard applications, simply applying compatible latex paint activates the PaintBlock technology.
SiaZ Painting Tip: FrogTape is particularly useful when creating contrasting paint colors. Apply the tape precisely, secure the edge firmly, and avoid overloading your brush or roller with paint.
Painter’s Tape Comparison Chart: Which Tape Is Best?
Here’s a quick comparison of the four painter’s tape options discussed above.
| Type | Adhesive Strength | Best Surface | Clean Removal Window |
|---|---|---|---|
| ScotchBlue Original 2090 | Medium | Walls, trim, glass, tile | Up to 14 days |
| Scotch Delicate 2080 | Gentle | Cabinets, finished floors, sensitive paint | Up to 60 days indoors |
| Scotch Rough Surface 2060 | Very strong | Brick, stucco, concrete, rough wood | Up to 5 days indoors; 3 outdoors |
| FrogTape Multi-Surface | Medium | Cured painted walls, trim, decorative lines | Up to 21 days; 7 in direct outdoor sun |
Important: These are product-specific manufacturer ratings, not universal rules for tape colors. Surface condition, temperature, humidity, sunlight, and application technique may affect performance.
How to Use Painter’s Tape Correctly: Step-by-Step
Choosing the right tape is only half the job.
To get professional-looking paint lines, you also need to apply and remove it properly.
Step 1: Clean the Surface
Before applying painter’s tape, remove dirt, grease, and dust using an appropriate cleaner.
Allow the surface to dry completely.
Applying tape to a dusty wall or greasy baseboard can weaken adhesion and increase the chance of paint bleeding.
Step 2: Apply the Tape Along the Edge
Carefully position the tape along the boundary of the surface you want to protect.
Avoid stretching the tape as you apply it.
Use manageable sections and overlap carefully when needed.
For straight decorative lines, measure and mark the intended boundary before applying the tape.
Step 3: Press and Seal the Edges
Run a clean plastic putty knife or another appropriate smooth tool along the edge of the tape.
Firm, even pressure helps the adhesive make better contact with the surface.
Avoid sharp tools that might scratch trim or damage painted walls.
Step 4: Paint Without Overloading the Edge
Apply paint using a suitable brush or roller.
Use thin, controlled coats, and avoid pushing too much paint into the tape edge.
On textured surfaces, choose tape designed for that material and consider whether you need additional sealing techniques.
Step 5: Remove the Tape at the Correct Time
Different painter’s tapes have different removal recommendations.
FrogTape recommends removing its Multi-Surface tape while the paint is still wet for the sharpest lines.
Scotch painter’s tape guidance generally recommends removing tape once the paint is dry to the touch.
Always follow the manufacturer’s instructions for the exact product you’re using.
When removing tape:
- Start at a loose corner.
- Pull slowly and steadily.
- Fold the tape back against itself.
- Maintain about a 45-degree removal angle, as many tape manufacturers recommend.
- Stop if you notice paint lifting or tearing.
If dried paint has bridged the tape edge, carefully score the paint film with an appropriate sharp blade before peeling. Avoid damaging the underlying surface.
How to Prevent Paint Bleeding Under Painter’s Tape
Paint bleeding is one of the most frustrating problems during wall painting.
It happens when paint works under the tape, leaving uneven or blurry edges.
To help prevent it:
Use the right tape for the surface. General-purpose tape may not seal well on brick or heavily textured walls.
Clean thoroughly. Dust and dirt interfere with adhesive contact.
Apply firm pressure. Burnishing the edge helps reduce gaps.
Avoid excessive paint. Thin coats are less likely to force paint beneath the tape.
Consider compatible edge-sealing techniques. On some accent wall projects, applying a light coat of the existing wall color over the tape edge before the contrasting color can help conceal minor seepage.
Follow product instructions. Tape technology varies between brands.
No painter’s tape can guarantee perfect results under every condition, particularly on damaged or heavily textured surfaces.
Common Painter’s Tape Mistakes to Avoid
Using strong tape on delicate finishes
Strong rough-surface tape may damage wallpaper, fragile paint, or finished cabinetry.
Leaving tape on longer than recommended
Even tape marketed for clean removal has a time limit.
Taping over uncured paint
Dry-to-touch paint is not necessarily fully cured. Applying tape too early can damage the coating.
Ignoring textured surfaces
Brick, stucco, and uneven drywall often require more preparation than smooth walls.
Removing tape too aggressively
Pulling quickly can cause tearing, adhesive residue, or paint damage.
Assuming tape color indicates performance
Blue, green, and purple tapes do not all have identical specifications across manufacturers. Always check the label.
Painter’s Tape vs. Masking Tape: What’s the Difference?
Although the terms are sometimes used interchangeably, ordinary masking tape and painter’s tape may perform differently.
Painter’s tape is developed specifically for paint masking and often offers controlled adhesion, paint-line performance, and a specified clean-removal period.
General masking tape works for temporary holding and masking tasks but may not deliver the same finish or removal characteristics.
For visible painted walls and finished trim, use a painter’s tape specifically recommended for the surface.
Frequently Asked Questions About Painter’s Tape
Which painter’s tape is best for walls?
A medium-adhesion, multi-surface tape, such as ScotchBlue Original 2090, works well on many smooth or lightly textured walls with properly cured paint.
What’s the difference between blue and purple painter’s tape?
Blue multi-surface tape typically uses medium-strength adhesive, while purple delicate-surface tape typically uses gentler adhesive for sensitive materials. Exact specifications depend on the product.
What painter’s tape should I use on brick or stucco?
Choose a rough-surface painter’s tape designed for masonry, such as Scotch Rough Surface 2060. Test adhesion before beginning a large project.
Is FrogTape better than regular blue painter’s tape?
FrogTape Multi-Surface includes PaintBlock Technology designed to reduce paint bleeding with compatible latex paints. Whether it performs better depends on the surface, application, and the specific blue tape you’re comparing.
Should I wet FrogTape before painting?
FrogTape’s PaintBlock technology reacts with the water in latex paint. Some painters use a lightly dampened cloth along the edges, but this is not necessary for every application. Avoid excess moisture.
When should I remove painter’s tape?
Follow the instructions for your specific tape. FrogTape Multi-Surface recommends removal while the paint is wet, while Scotch generally advises waiting until the paint is dry to the touch.
Can painter’s tape damage newly painted walls?
Yes. Even delicate-surface tapes may damage inadequately cured paint or coatings that don’t adhere well. Follow the paint manufacturer’s curing guidance, and test the tape before use.
How do you get perfectly straight paint lines?
Use a suitable tape, clean and dry the surface, carefully align the tape, press the edge firmly, apply controlled coats of paint, and remove the tape at the manufacturer-recommended time.
Final Thoughts: The Right Painter’s Tape Makes a Difference
The best painting results come from combining the right products with the right techniques.
For ordinary walls, blue multi-surface painter’s tape is often a practical choice. Delicate finishes call for gentler adhesive, rough surfaces require stronger adhesion, and paint-blocking tapes can help when sharp decorative lines matter.
Before starting your next project, take a few minutes to assess the surface and choose the right tape.
A little extra preparation can save time on touch-ups and help produce a cleaner, more professional-looking finish.
Need Professional Painting Services in New Jersey?
At SiaZ LLC, we help homeowners improve their spaces through interior painting, surface preparation, drywall work, and other home improvement services.
Whether you’re updating a single room, repainting doors and trim, or planning a complete interior refresh, careful preparation is essential for a beautiful finish.
Contact SiaZ LLC for a painting estimate.
Website: https://siazllc.com
Email: info@siazllc.com
Phone: (732) 489-8192